Kitchen appliances and utensils:
- oven;
- plate;
- food processor for kneading dough (if not, it’s okay, you can knead with your hands);
- small frying pan;
- kitchen scales;
- beaker;
- 2 stones for making pizza (if there are none, then baking sheets and parchment paper);
- chekich (stamp of sharp needles) for cakes;
- knife;
- fork;
- tablespoon;
- tea spoon;
- pastry brush.
Ingredients
| Product | amount |
| Flour | 600 g + a little to work with the test |
| Water | 350 ml |
| Yeast | 1.5 tsp |
| Sugar | 1 tsp |
| Salt | 1 tsp |
| Kefir | 20-30 ml |
| Sesame | 2-3 tbsp. l |
| Vegetable oil | 1 tbsp. l |
Step cooking
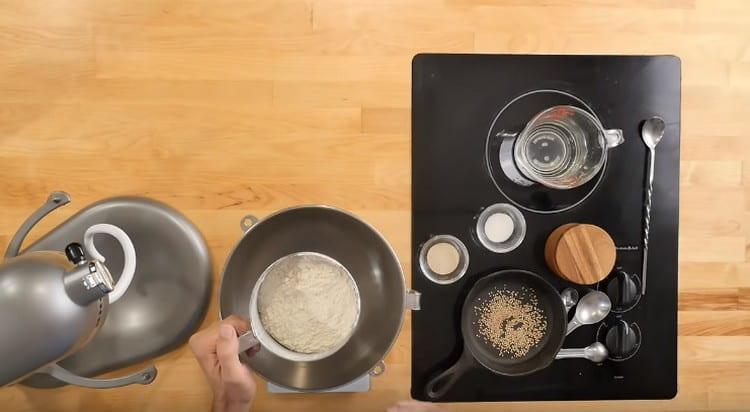
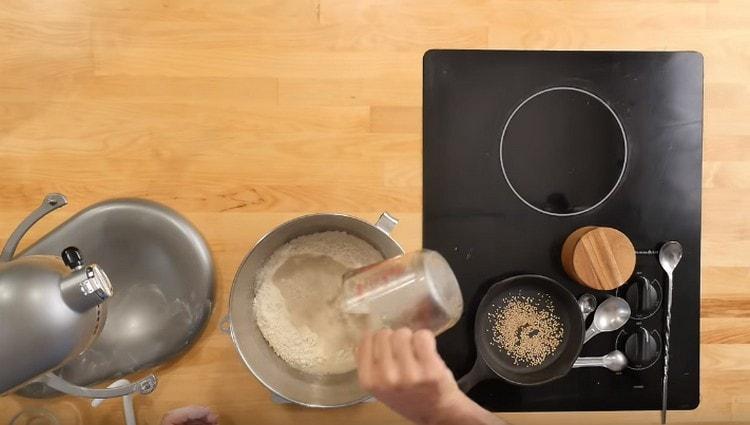
- Weigh 600 g of flour and sift it into a bowl from a food processor (or just into a deep bowl).

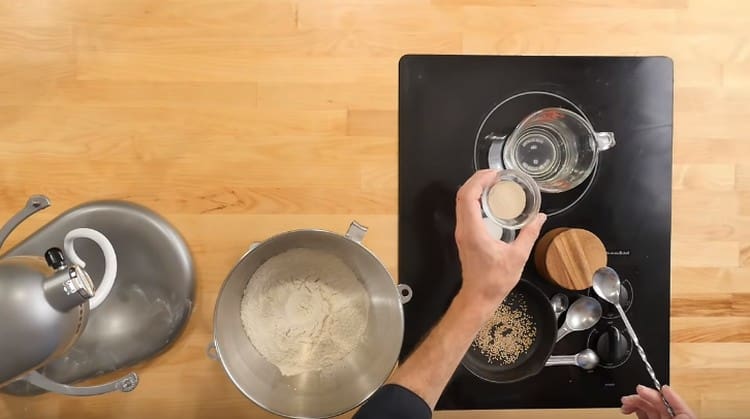
- Measure 350 ml of water with a measuring glass. Water should be warm at about 40 ° C. To determine that the water temperature is suitable is very simple - just dip your finger in the water (hands should be washed, of course!) And if the liquid feels like a pleasant warm, then the desired temperature is reached. Pour yeast (1 ½ tsp) into the water with a teaspoon and mix thoroughly.

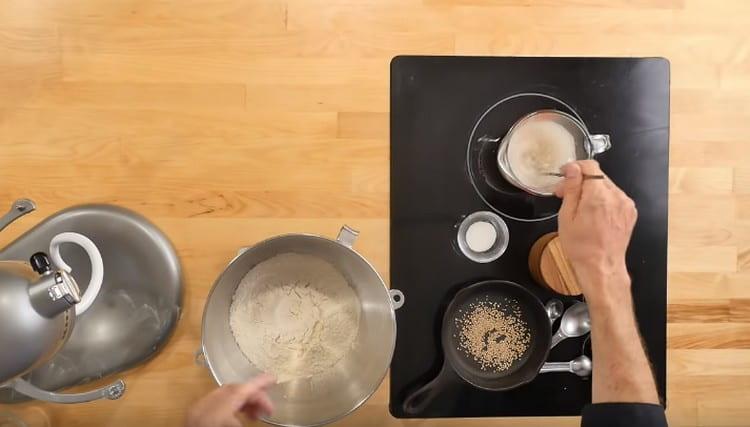
- Pour 1 teaspoon of sugar into the water. Stir again.

- Let the resulting mixture stand for just a few minutes - so that the yeast reaction starts (the yeast “started”). In a bowl with flour, deepen and pour the mixture into it. Also, right now pour 1 tsp. salt.

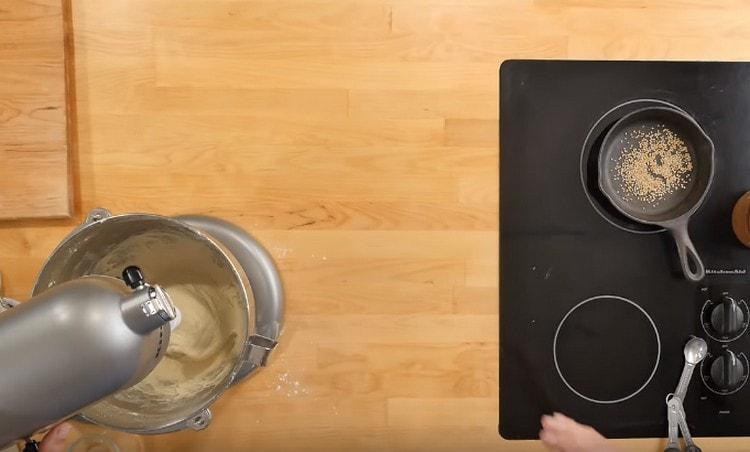
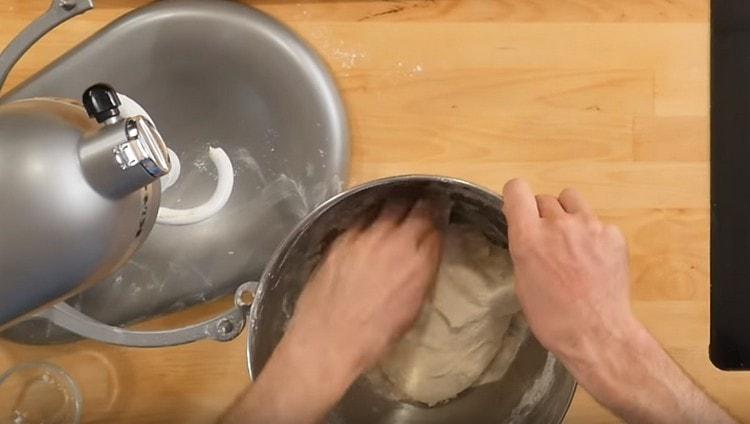
- Now knead the dough. You can use the combine, then it will take 5-8 minutes, you can knead with your hands - it will take a little more than 10 minutes. During kneading, add 1 tablespoon of vegetable oil to the dough.

- Inspect the result - the dough should be very (!) Soft, rather flowing than elastic, but not stick to your hands. If the dough sticks, then add more flour and knead with your hands to the desired state.

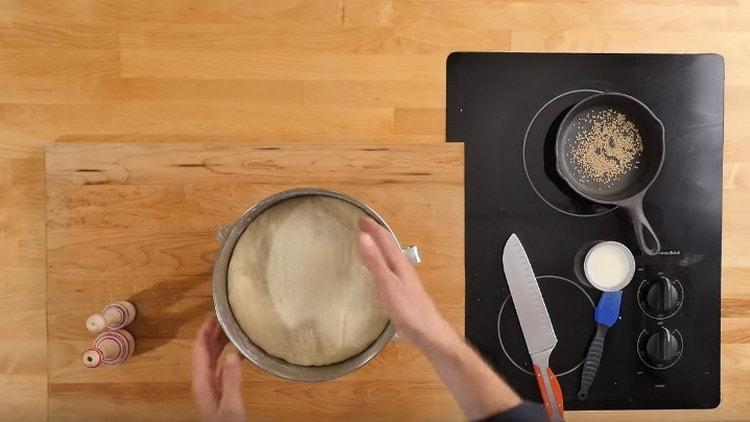
- Put the dough in a bowl and cover with a napkin. Let it stand for 1 hour, preferably in a warm place. While the dough is coming, fry the sesame seeds in a dry frying pan for several minutes until rosy. Prepare a bowl of kefir and a pastry brush.

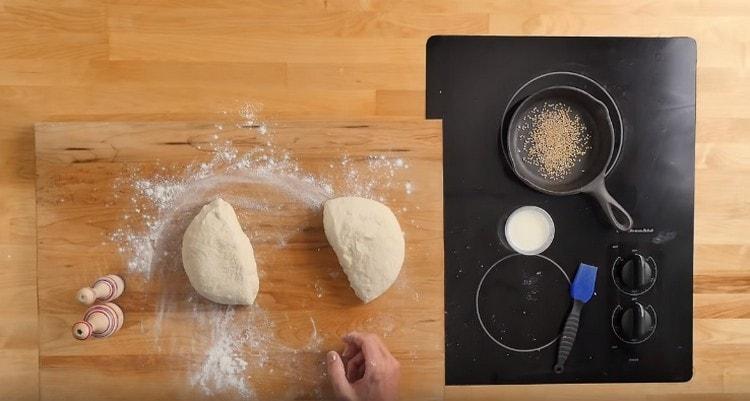
- When the dough comes up, turn on the oven at 220-250 ° C. Only a very well-heated oven can quickly bake cakes, as required by the recipe. Place the cakes on which to bake, put in the oven too. Mash the dough and divide in half, into 2 parts. Do not forget to sprinkle the work surface with flour.

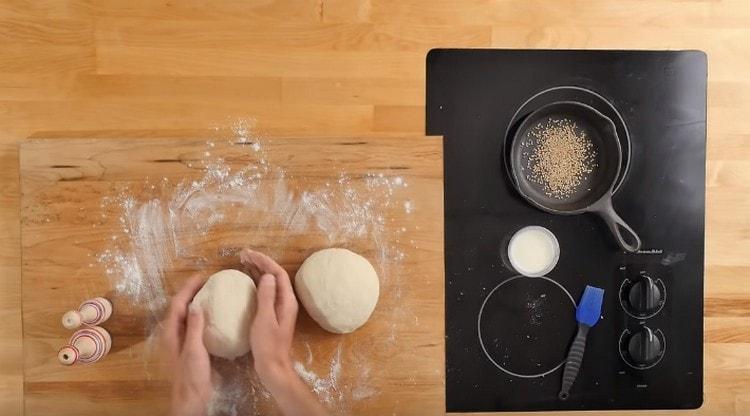
- Form a ball from each part, cover with a towel and let lie down for 10 minutes.

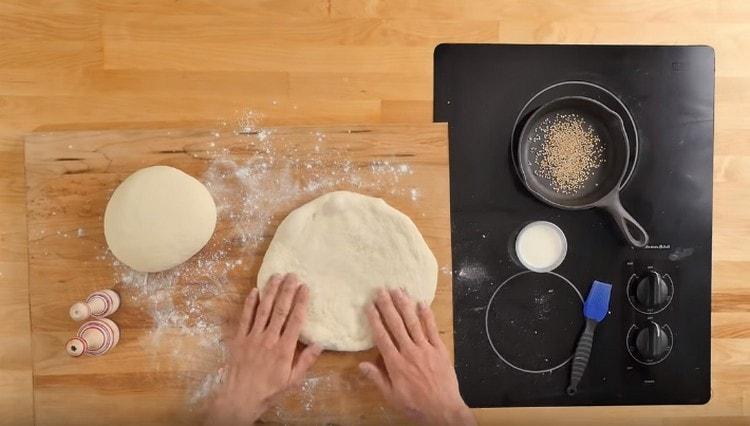
- Now you need to roll the cakes themselves out of the balls. A rolling pin is not needed for this. With your hands, slightly flatten the ball on the work surface. Then take the cake, put it on the back of your hand and, throwing the cake from the back of one hand to the open side of the other, turn the dough around its axis. Under its weight and due to its ductility, the dough will form into a cake. Do until you get the desired diameter cake. It should be quite thick (1-1.5 cm in thickness).

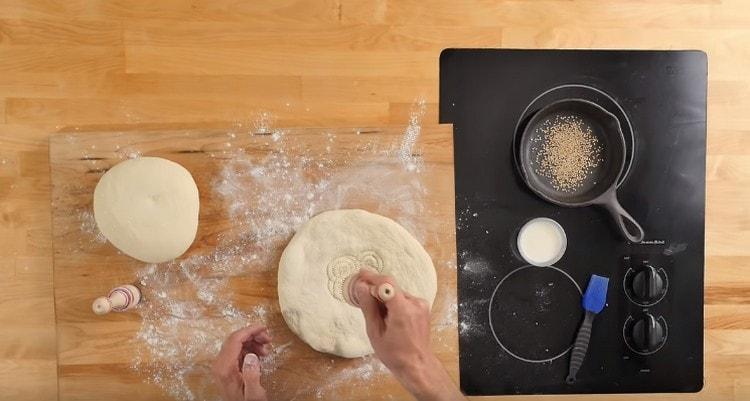
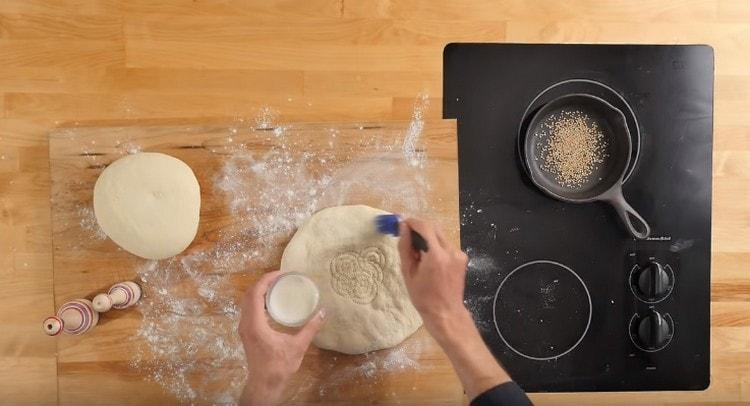
- Take a chekich (if this is not at home, then simply with a regular fork) and pierce the dough several times in the middle, creating any pattern.

- With a pastry brush, coat the prepared cakes with kefir (by the way, you can also use sour milk).

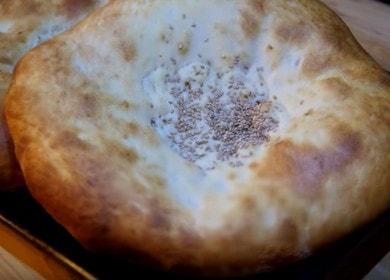
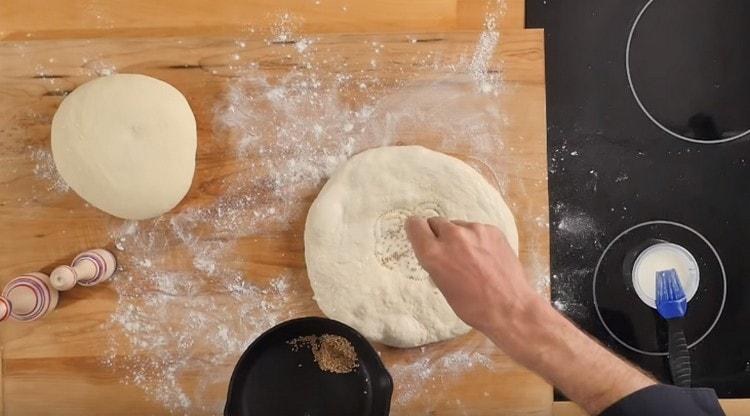
- Sprinkle sesame seeds in the middle of the tortilla.

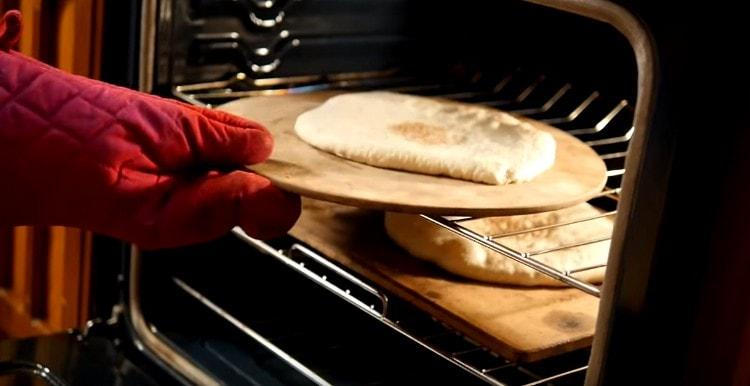
- Stones for pizza (or baking sheets with parchment paper) should be well heated with the oven. Put ready cakes on them and put in the oven for 8 minutes. Do not lower the temperature, let it remain at about 230 ° C. After 8 minutes, swap baking sheets or stones so that the cakes bake well both above and below. And bake another 4-5 minutes.

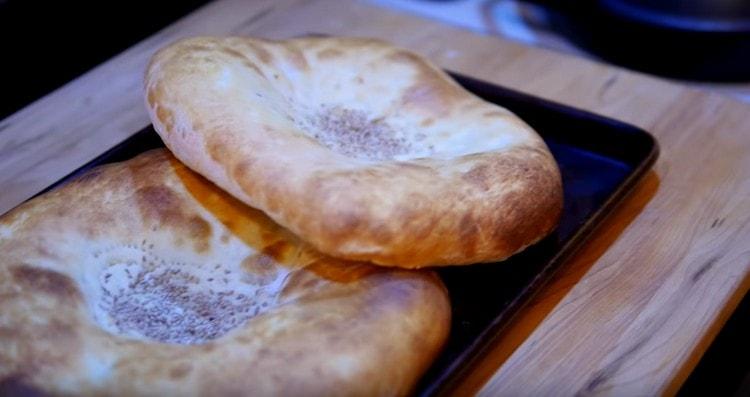
- Remove the tortillas and cool a little. But not for long, because it’s customary to eat these flat cakes just hot! Good appetite!

Video recipe
If you do not understand something in the recipe, then be sure to watch an informative video with a very detailed description of all the steps necessary to get a real Uzbek cake. Be sure to pay attention to how the cook originally rolls the dough. Enjoy watching.
